Dinosaur Growth Wall Decoration Guide
There is something quietly magical about watching a child grow. One day they fit under your elbow. The next, they are brushing past the doorframe like it was always meant for them. Marking that growth on a wall turns ordinary inches into little moments you can come back to. A dinosaur themed growth wall does that and more. It gives kids a sense of progress they can see and touch. It also brings a bit of play into a room that might otherwise feel too plain.

This guide is here to help you build that wall in a way that feels doable. Not perfect. Just thoughtful, safe, and fun.
Why a growth wall matters to kids
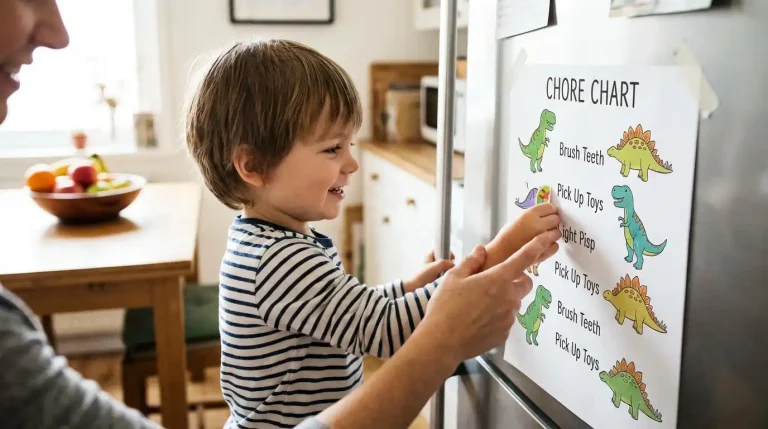
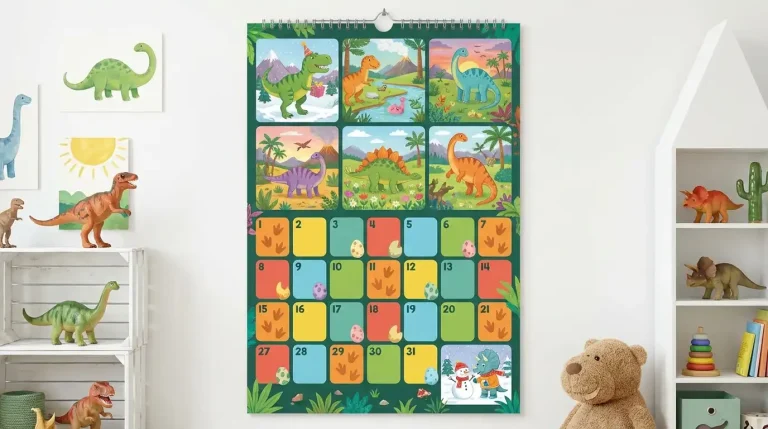
Kids notice patterns long before they understand time. When their height is marked on the wall, they see change happening to them. It becomes a small ritual. Stand straight. Heels back. Chin up. The pencil line moves. They grow into the idea that change is normal and kind of exciting. You can even turn the routine into a fun habit with a dinosaur reward chart for kids, where small milestones feel like mini victories.
A dinosaur theme adds a story layer to that ritual. Dinosaurs already live in that space between wonder and comfort. Big creatures, gentle in a kid’s imagination. A growth chart shaped like a long necked dino or a cheerful stegosaurus makes the measuring feel like part of play instead of a test.
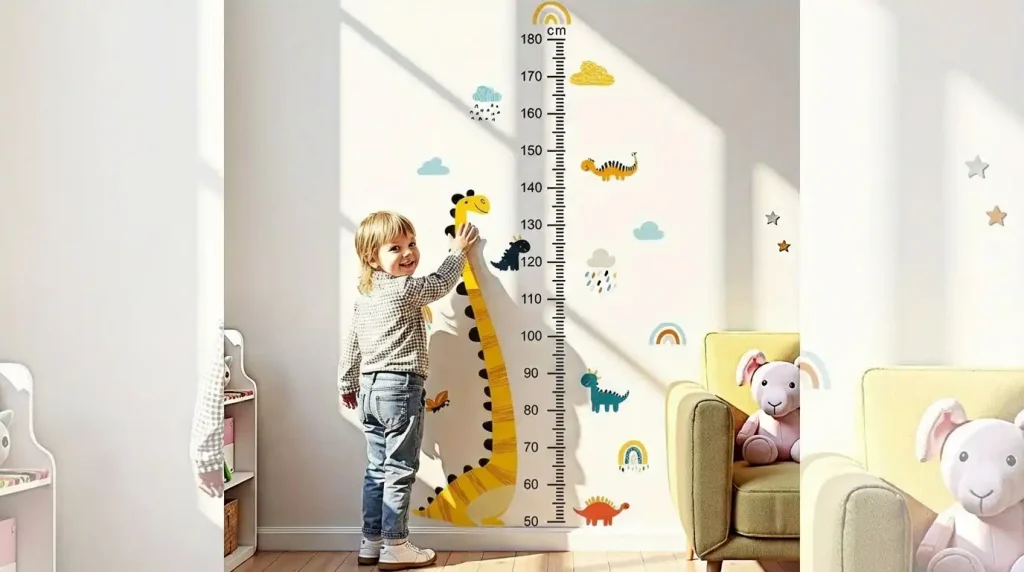
For parents, it becomes a memory keeper. One day you will notice the highest mark and remember the day they insisted on wearing pajamas to be measured.
Picking the right spot on the wall
Start with a wall that is easy to access and easy to see. Corners work if they are clear of furniture. Near the door can be fine, as long as the door does not swing into the measuring area. Try to avoid walls that get heavy sunlight all day. Strong light can fade colors over time, and kids notice when their favorite dinosaur suddenly looks tired.
The floor matters more than you might expect. Measure from a consistent surface. If your child’s room has thick carpet, you can gently press the measuring tape down to the firm layer underneath and always measure from there. If you plan to change flooring later, make a small note of where your starting point is. It saves confusion a year from now.
Planning the dinosaur design without overthinking it
You do not need to be an artist. You just need a simple plan that makes sense for your space.
Think in terms of one main dinosaur shape that runs vertically and a few smaller shapes around it to set the scene. Clouds, leaves, little plants, maybe a sun tucked into a corner. Keep the growth markings clear and easy to read. That is the whole point of the wall, after all.
If you are using removable wall decals, lay them out on the floor first. This step feels fussy until you skip it once and realize the dinosaur’s tail is climbing into the ceiling fan zone. Floor planning lets you shuffle things around without commitment. It also gives your child a chance to weigh in. They will tell you, very seriously, if the dinosaur needs more friends.
Painted designs work too, but they take more prep. If you go that route, lightly sketch the outline in pencil first. Step back. Look at it from the doorway. This tiny pause can save you from a dinosaur with a surprisingly long neck.
Getting the height markings right
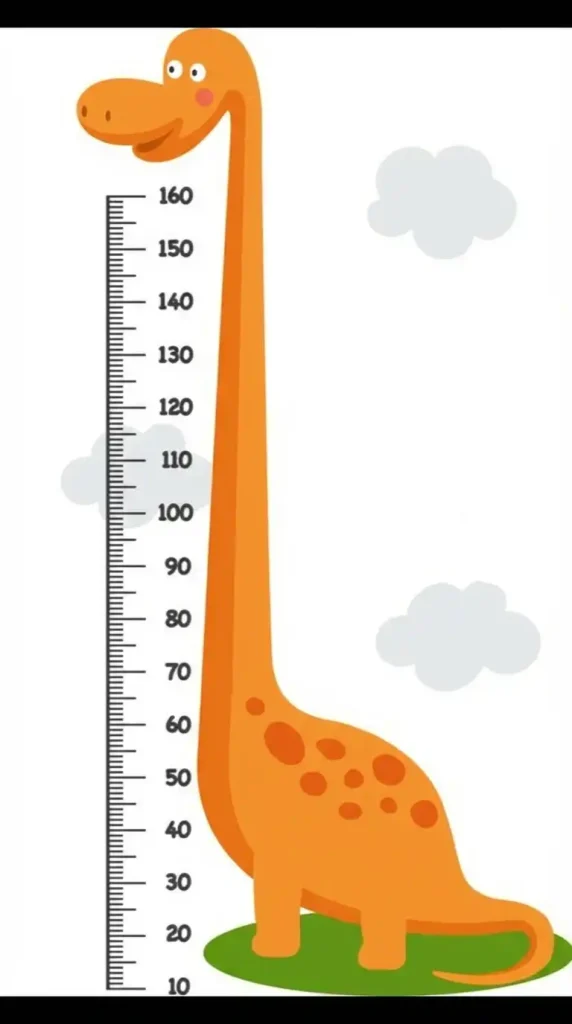
Accuracy matters here, but you do not need special tools. A simple measuring tape and a level will do the job.
Mark your zero point at the floor. From there, measure up in clear increments. Some parents like to mark every inch. Others prefer every two inches to keep the wall from feeling busy. Choose what feels readable from across the room.
Write the numbers in a way your child can learn from. Clear, simple digits. You can even add a small star at common milestones, like three feet or four feet. It gives kids something to aim for, which can be oddly motivating in a sweet way.
Use a pencil first. Stand your child against the wall to check that the marks line up with reality. Kids have a way of finding mistakes you did not notice.
Materials that are safe for little hands
Kids touch walls. They run their fingers over textures. They lean. So whatever you put up should be safe and durable.
Look for wall decals made with non toxic inks and adhesives. If you paint, choose low odor, child safe paints and let the wall cure fully before letting your child near it. This part takes patience. The smell fades faster than you think, but rushing it can make a room feel stuffy.
If you add any raised elements, like foam shapes or wooden cutouts, secure them well. Tug gently after installation. If it moves in your hand, it will move in a curious kid’s hand too.
Making the wall feel like part of the room
A growth wall should not feel like a sticker slapped on at the last minute. It lives in the room. Let it belong there.
Pull colors from the bedding, the rug, or a favorite book cover your child loves. You do not need everything to match. Just a soft echo of color ties it together. If the room is already busy with patterns, keep the dinosaur shapes calmer. If the room is plain, this is your chance to add a little life.
Lighting changes how everything looks. A soft lamp nearby can make the wall feel cozy at night, even when the main light is off. Kids notice these small shifts in mood more than we think.
Turning measurements into moments
The wall becomes more meaningful when you slow down for the measuring.
Pick a day. Maybe birthdays. Maybe the first day of a new season. Make it a small ritual. Stand them straight. Take a breath. Draw the line. Write the date next to it in your own handwriting. That handwriting will matter later, even if you do not realize it now.
Some parents add tiny notes next to the marks. “First bike ride week.” “Lost first tooth.” You do not need to do this every time. A few scattered memories are enough to turn the wall into a quiet story of growing up.
Let your child decorate around their latest mark. A sticker. A tiny drawing. It gives them a sense of ownership over the space that is literally tracking their growth.
Keeping it flexible as your child changes
Kids outgrow things. That is part of the deal. A dinosaur wall that feels perfect at four might feel babyish at eight.
Plan for that. Use removable elements when you can. Leave room above the tallest expected height so you are not forced to redo the whole wall later. As your child grows, you can simplify the scene. Maybe the extra clouds come down. Maybe the bright flowers fade into a cleaner look. The growth marks stay. The story stays. The style evolves.
You can even invite your older child to redesign parts of it with you. It turns a transition into a shared project instead of a quiet removal of something they once loved.
Common little mistakes and how to dodge them
It is easy to place the wall behind a bed because the space looks empty. Then you realize you cannot measure without moving furniture. Save yourself that annoyance. Keep the measuring area clear.
Another small slip is placing numbers too low for kids to read. If your child cannot see their own height without you pointing it out, the wall loses some of its magic. Keep the numbers at a height they can follow with their eyes.
Lastly, do not rush the first measurement. The starting point sets the tone. Take your time. Make it feel like a moment, not a chore.
A wall that grows with your family
This kind of wall does more than mark height. It holds small pieces of time. It shows kids that growth is something to notice, not just something that happens in the background. Years from now, when the wall is painted over and the room belongs to someone else, you will still remember where those lines were.
That is the quiet power of it. A simple wall. A friendly dinosaur. A record of becoming, inch by inch.
More dinosaur crafts, coloring pages, and activities, at dinosaurcolorpages.com, all for free.