
How to Draw a Dinosaur: 6 Easy Steps Guide for Beginners
Dinosaurs have fascinated people for generations, from kids dreaming of Jurassic adventures to adults reminiscing about their childhood obsessions. If you’ve ever wanted to learn how to draw a dinosaur, you’re in the right place! This simple tutorial focuses on drawing a classic T-Rex, one of the most iconic dinosaurs out there. Whether you’re a complete beginner or just looking to brush up on your skills, this guide will walk you through the process step by step. No fancy art supplies required—just grab a pencil and paper, and let’s get started. By the end, you’ll have your very own dino masterpiece ready to color and show off.

Drawing dinosaurs is not only fun but also a great way to improve your creativity and fine motor skills. If you just want to color already made dinosaur, then you can start with fun and unique dinosaurs like the armored Ankylosaurus, which is great for simple coloring practice. We’ll keep things easy and approachable, so even if you’re new to sketching, you’ll feel confident. Ready to roar into action? Let’s dive in!
Materials You’ll Need to Draw a Dinosaur
Before we jump into the steps, gather these basic supplies. You probably have most of them lying around the house:
- A pencil (for sketching light lines you can erase later)
- An eraser (to fix any mistakes—no judgment here!)
- Paper (regular printer paper works fine, but sketch paper is even better if you have it)
- Black pen or marker (for outlining your final drawing)
- Colored pencils, crayons, or markers (for adding that prehistoric pop of color)
If you want to get fancy, try watercolor paints for a more artistic finish, but that’s totally optional. The key is to have fun and not stress about perfection.
Draw a Dinosaur by Numbers with the Easiest Steps
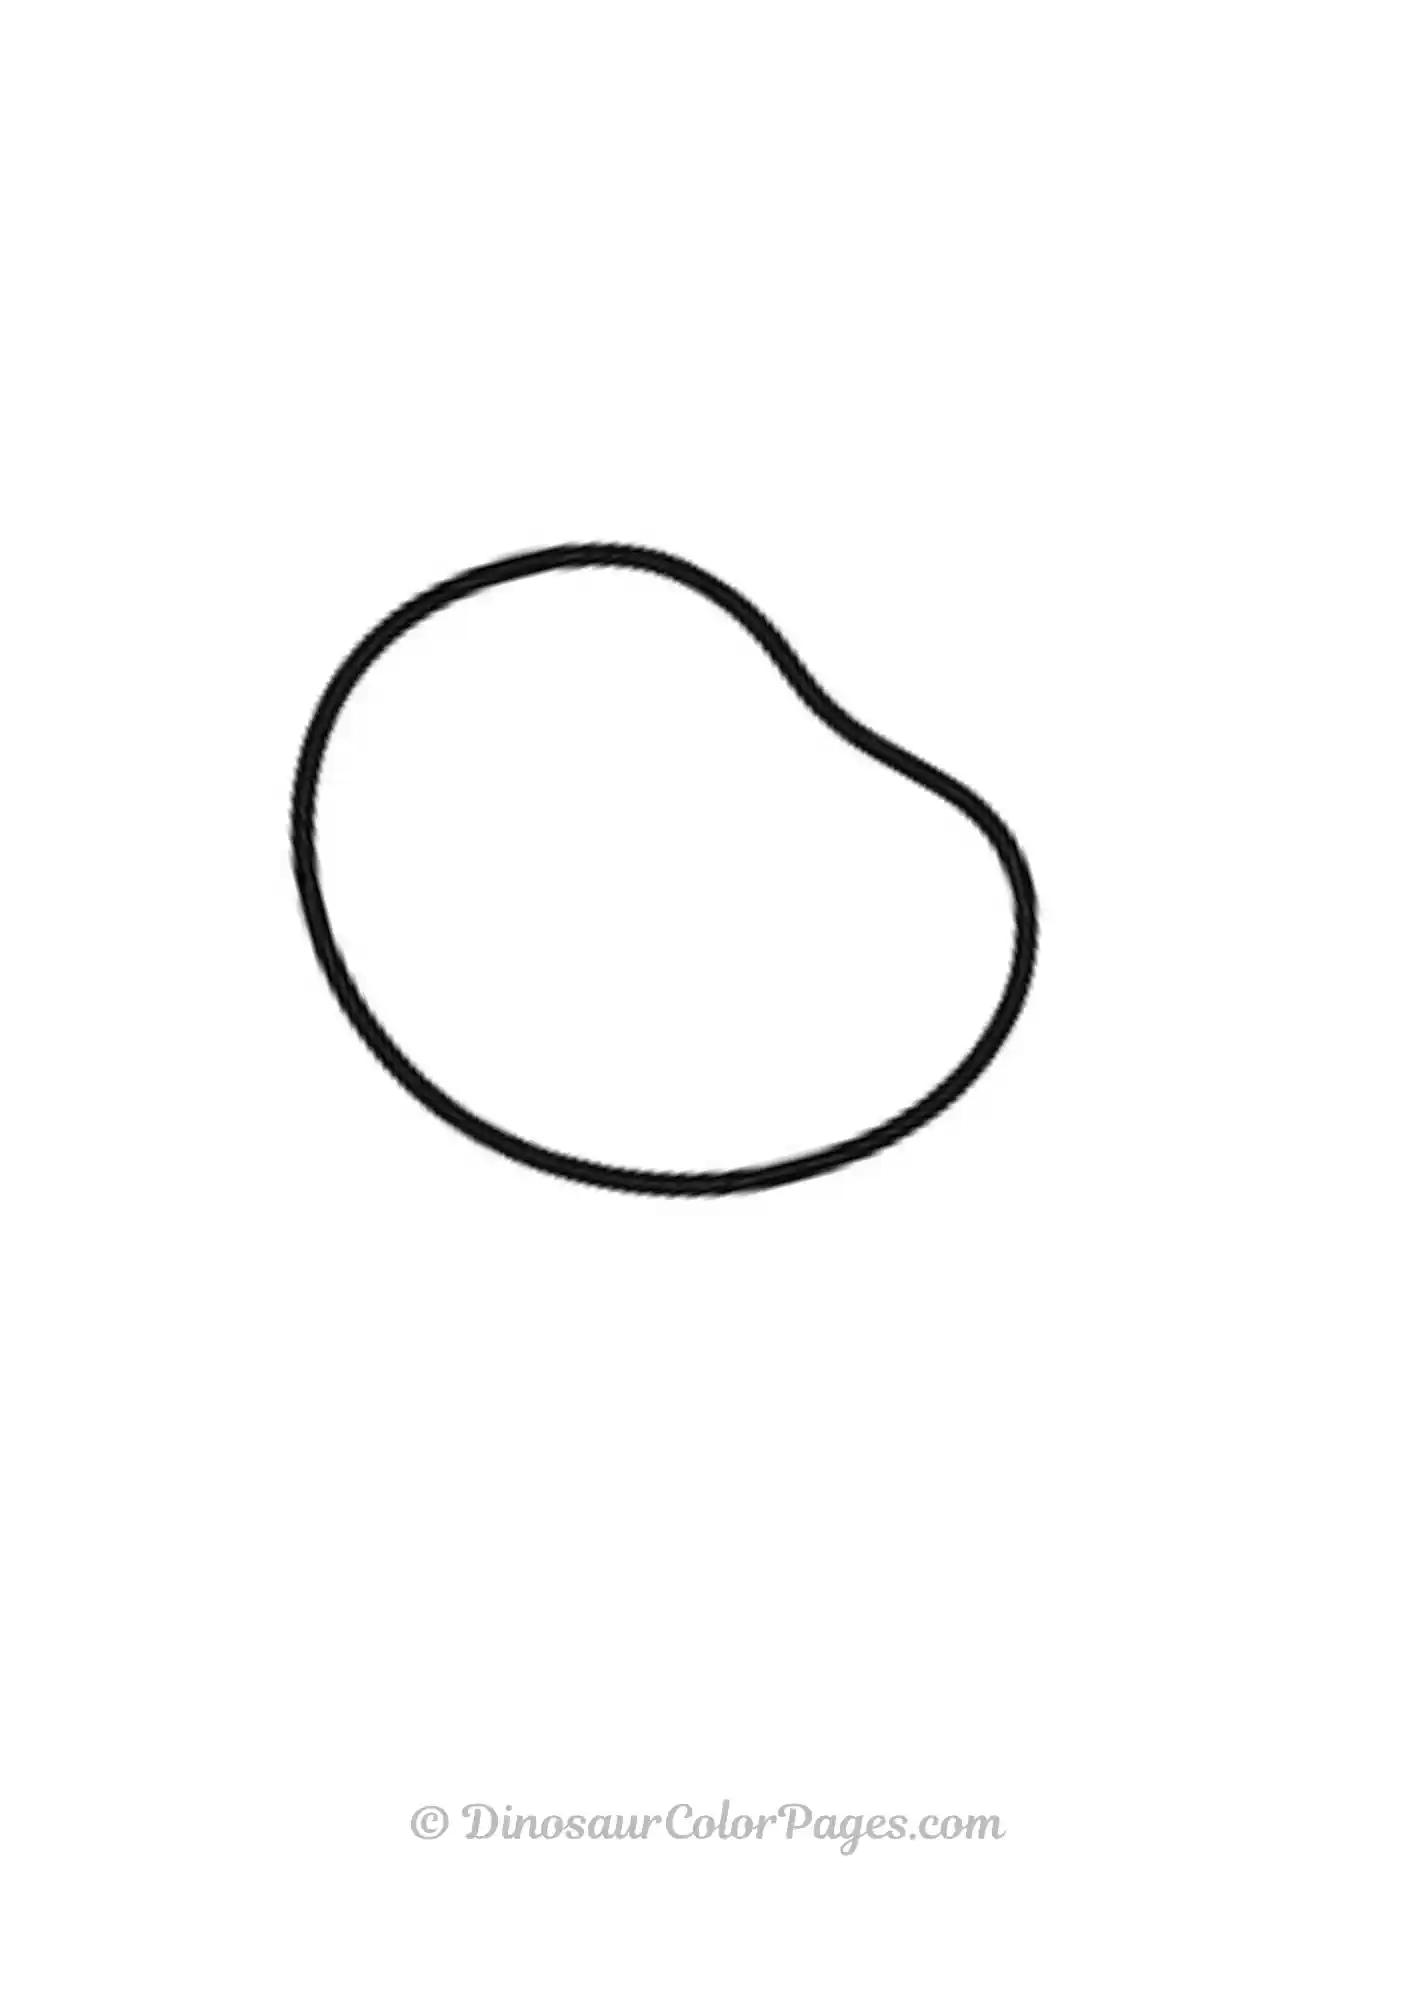
- Draw head of the dinosaur
2. Draw the body

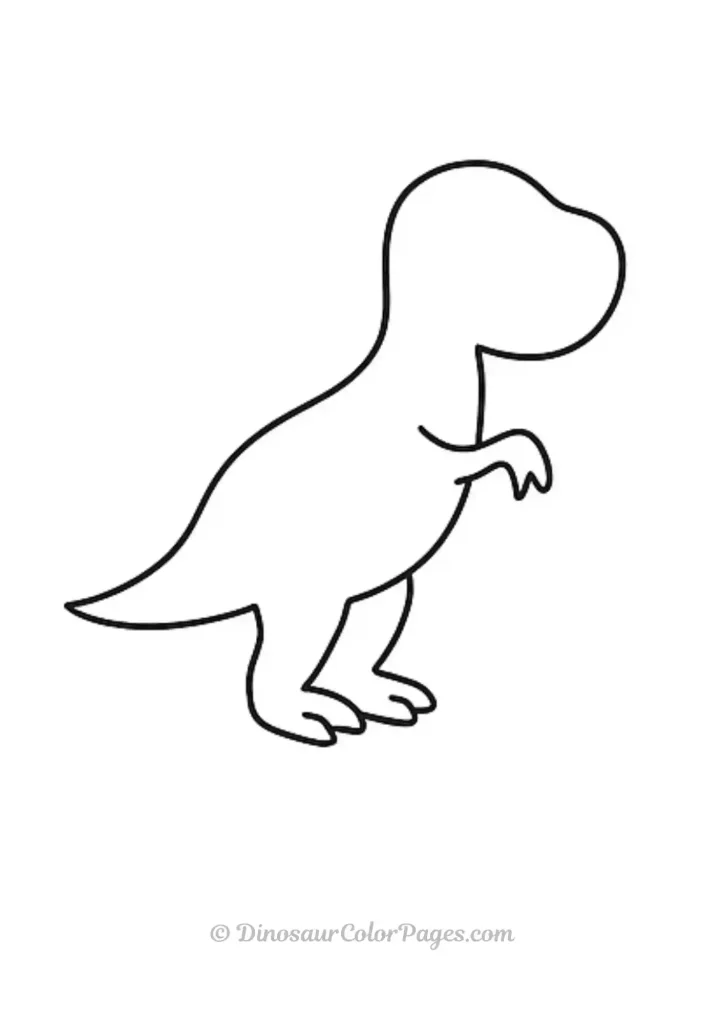
3. Draw legs and arms
4. Draw the eye

5. Draw face textures

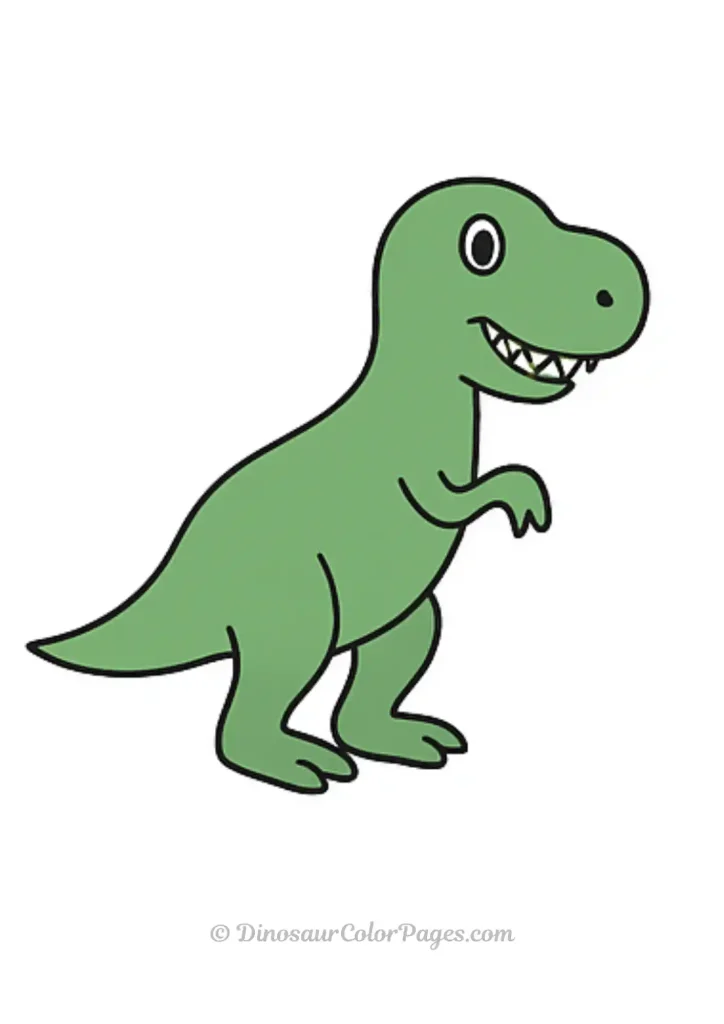
6. Color it
Step-by-Step Instructions: How to Draw a T-Rex Dinosaur
We’ll break this down into nine straightforward steps. Start with light pencil strokes so you can adjust as you go. Follow along closely, and refer to the visual guide above for extra help. This method uses simple shapes to build up the dinosaur, making it easy for anyone to follow.
- Draw the Head: Begin at the top of your paper with the T-Rex’s head. Use curved lines to form a rounded shape with two small bumps on top for the crests. Make the bottom part wide and rounded—this will be the jaw area. Think of it like drawing a funky potato!
- Add the Body and Tail Outline: From the bottom of the head, draw curved lines downward to create the neck and body. On the right side, extend a pointy tail using more curved lines. Leave some space at the bottom of the body for the legs. This gives your dino that classic hunched posture.
- Sketch the Eyes: Inside the head, draw two ovals for the eyes—one inside the other for the pupil. Add a small curved line next to the right eye to give it some expression. This makes your T-Rex look alert and a bit cheeky.
- Draw the Mouth, Nostrils, and First Arm: Add nostrils with small curved lines and dots. Then, create a big, wavy line for the mouth, filling it with sharp, triangular teeth. Don’t forget the tiny arm—draw a short, curved shape coming out from the body with little claws at the end. T-Rex arms are famously small, so keep it simple.
- Add the First Leg: Now for the powerful legs! Draw a thick, curved shape coming down from the body for the thigh, then add the lower leg and foot with big, sharp claws. Make it muscular to show off that dino strength.
- Include Body Details: Add some texture with curved lines across the body and tail. Draw a line up the belly to separate the underside—this adds depth and makes your drawing look more three-dimensional.
- Draw the Second Arm: Mirror the first arm on the other side of the body. Keep it small and add a few lines for wrinkles or muscles around the shoulder area.
- Complete with the Second Leg and Final Touches: Add the other leg behind the first one, using similar curved shapes and claws. If it looks a bit hidden, that’s okay—it adds perspective. Erase any extra guidelines and add any last details like extra texture lines.
- Color Your Dinosaur: Time for the fun part! Since no one knows exactly what color dinosaurs were, get creative. Go for classic green with yellow spots, or try wild patterns like purple and blue. Use colored pencils for smooth shading or markers for bold vibes. Experiment and make it your own!
Tips for Improving Your Dinosaur Drawing
- Practice Basic Shapes First: Dinosaurs are made up of circles, ovals, and triangles. Warm up by sketching these to get comfortable.
- Don’t Be Afraid to Erase: Mistakes are part of the process. Lightly sketch everything at first so you can tweak as needed.
- Add a Background: Once your T-Rex is done, draw a simple jungle, volcano, or even other dinosaurs to create a scene.
- Try Variations: After mastering this, experiment with other dinos like a long-necked Brachiosaurus or a horned Triceratops. Each one builds on similar steps.
- For Kids: If you’re drawing with little ones, focus on the cute version—big eyes and a smiley mouth make it less intimidating.
Drawing a dinosaur like this T-Rex is a fantastic way to spark imagination. Whether you’re doodling for fun or creating art for a school project, these steps will help you create something awesome. Keep practicing, and soon you’ll be drawing whole herds of prehistoric pals. If you enjoyed this guide, why not try coloring already made dinosaurs? Happy sketching!